
Best Spring Bulbs for Pots and Containers: layer up for months of colour
Pots make it easy to enjoy bulbs even if you don’t have a garden. A few containers by the front door, on a patio or balcony can bring colour to the house. By layering up varieties with different flowering times, you can have colour from early spring well into May. Here’s how to achieve it:
Choose a pot with good drainage
Bulbs dislike sitting in waterlogged compost, so choose a container with plenty of drainage holes. Add a piece of broken pot or mesh over the holes to stop compost washing out, and use a free-draining multipurpose compost. A pot at least 30 cm deep gives you room to plant several layers.
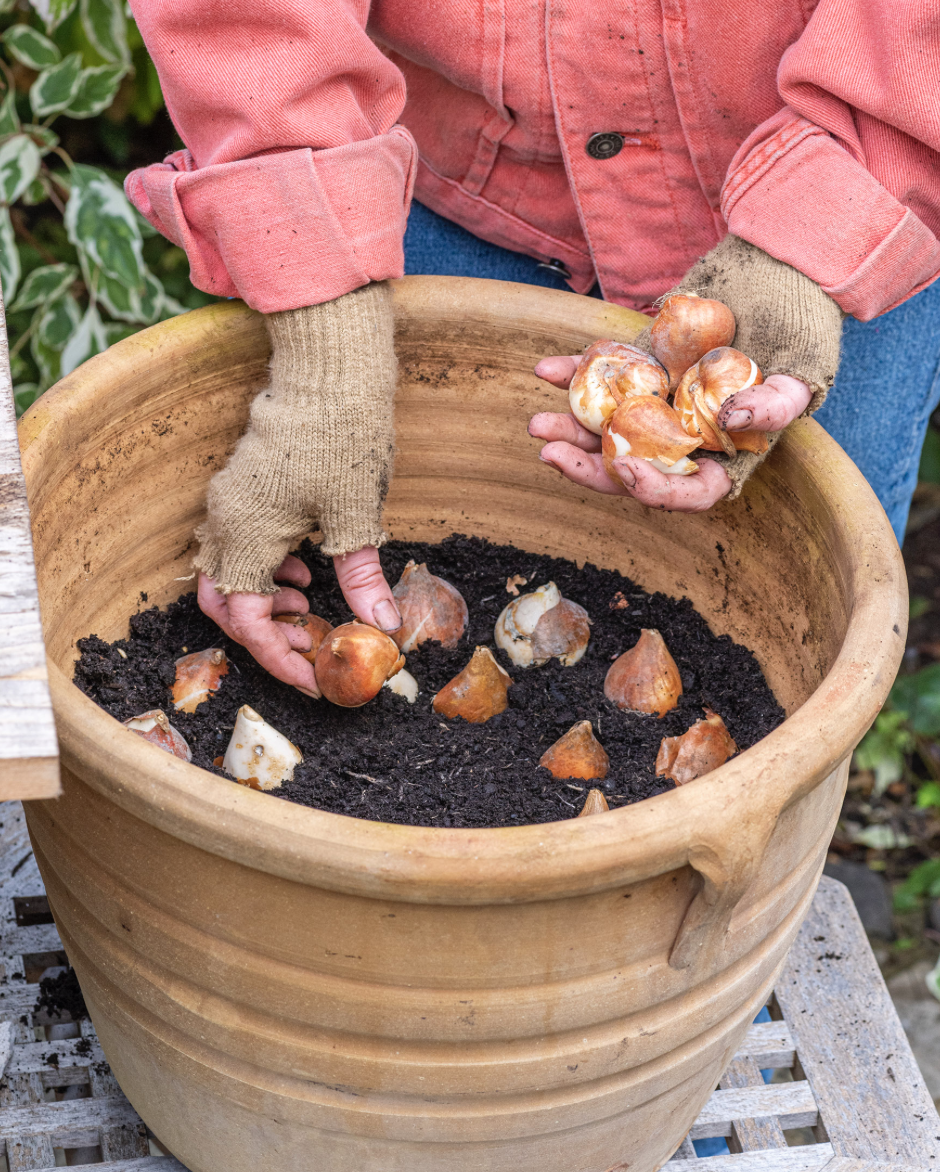
Choose a large pot with good drainage
Use the Layering Method
For a succession of flowers, plant bulbs in layers, sometimes called “lasagne planting”. Put the latest-flowering bulbs deepest, cover them with compost, then add earlier-flowering bulbs above. Finish with a final layer of compost.
For example, you could plant tulips in the bottom layer, followed by narcissi, then crocuses near the top. The crocuses should flower first, followed by the narcissi and then the tulips. Always check the recommended planting depth and spacing for each variety, as these can differ and effect the layering.
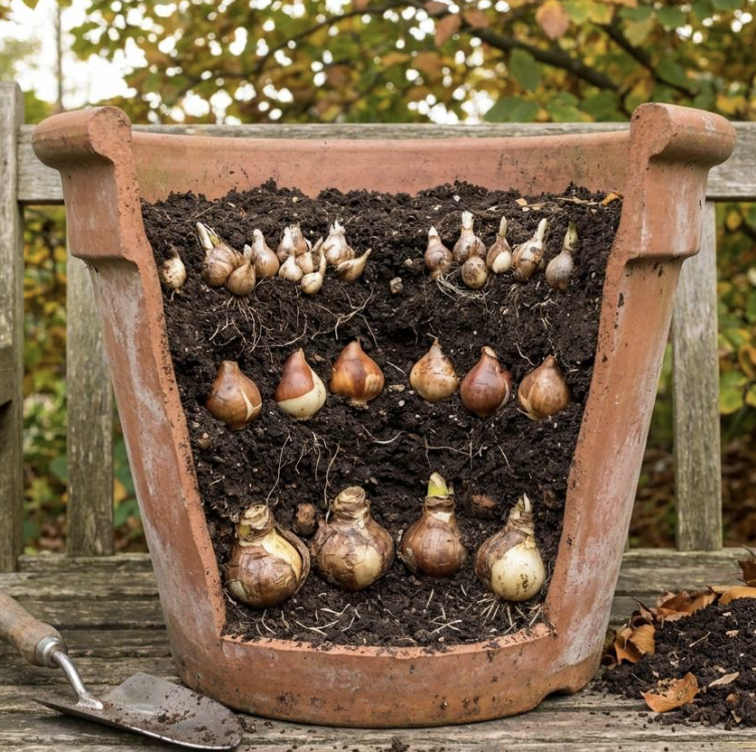
Choose bulbs with different flowering times and planting depths
Make it your own
For a coordinated look, choose bulbs in a limited colour palette. Or mix heights and flower shapes for a more relaxed display. You can also plant smaller bulbs around the edges of a pot and taller varieties towards the centre.
Think about where the container will sit. A scented display near a doorway or seating area can be especially enjoyable, while a pot in a prominent spot can make a cheerful seasonal focal pointEach species has multiple varieties to suit every taste.
Add extra interest
You can make a container display feel more full by planting a few low-growing companions above the bulbs. Small winter-flowering plants or trailing foliage can soften the edges of the pot while you wait for the bulbs to emerge. Choose companions with similar light and watering needs, and leave enough space for the bulbs’ shoots to come through.
You could also group several pots together instead of planting everything in one large container. This gives you more freedom to mix colours and flowering times, and makes it easier to move a pot if the weather turns particularly wet or cold. Use pots of different heights for a more varied display, keeping the tallest flowers towards the back if the containers will be viewed from one side. As flowers fade, remove them to keep the display tidy, but leave the foliage in place until it has yellowed naturally.
Water and Care for Your Bulbs
After planting, water the compost and let excess water drain away. Keep the pot somewhere cool while the bulbs establish, and check it occasionally so the compost doesn’t dry out completely. When shoots appear, move the container into its flowering position if needed and water when the surface of the compost starts to dry
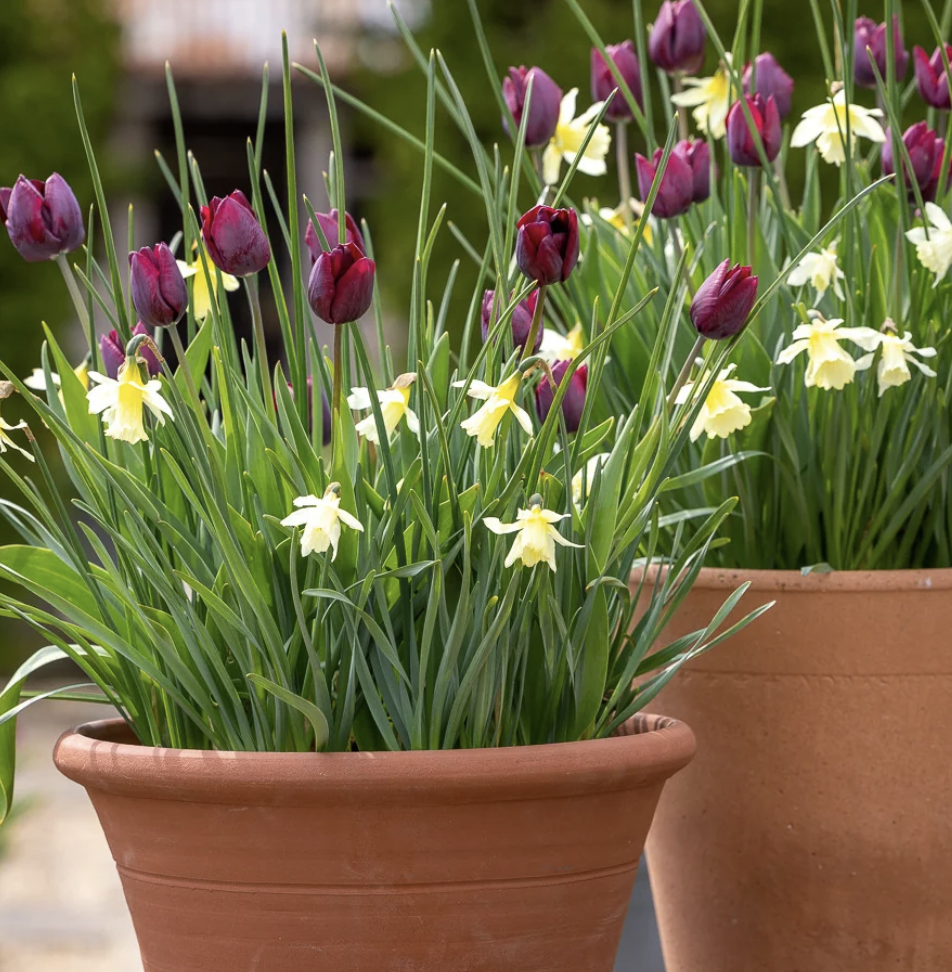
Carefully chosen bulbs can create stunning displays
Conclusion: the art of bulbs in a container
The secret is layering of bulbs within a series of pots. You can create beautiful displays which last for months with a little careful thought. Choose a restrained colour palette and it will look refined and stylish. Change the combinations each year to keep it fresh and exciting.
Other Articles you might like to read
Species Tulips: the best naturalising Tulips for your garden